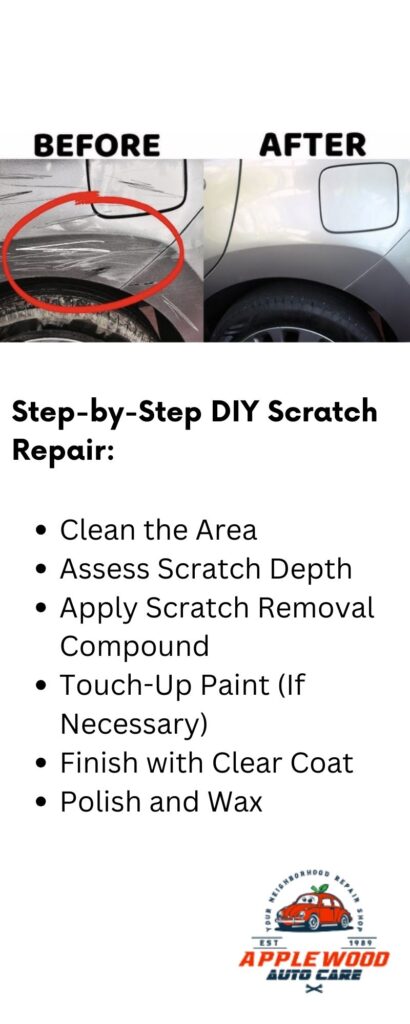
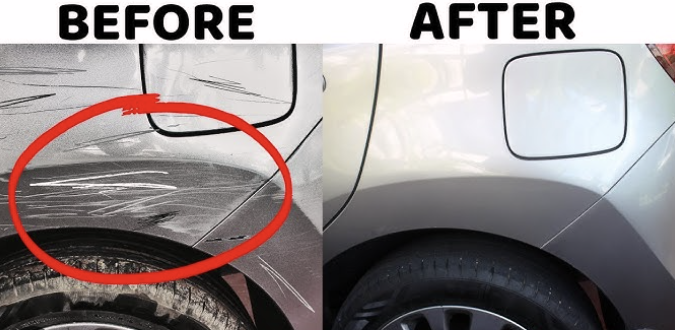
Car scratches are inevitable and potentially reduce your vehicle’s resale value, but fixing them doesn’t always require a visit to the body shop. Fortunately, most scratches do not need professional help and can be fixed at home easily with a little bit of time and effort. You can restore your car’s appearance in just one hour with the right tools and a little patience.
Throughout this guide, you will learn how you can save your hard-earned money by opting for the Do-It-Yourself approach.
Table of Contents
ToggleTips and Tricks for DIY Scratch Repair
Before getting into the methods to fix scratches, it is important to analyze the depth and severity of your particular scratch. Car scratches can be classified into three categories, including the following:
1. Clear Coat Scratches: Any Car Scratch that can be polished without much effort comes under this classification. Only the superficial layer of paint is scratched.
2. Base Coat Scratches: These are more apparent and can be considered a little more severe because the scratch is more prominent and a bit deeper than that of clear coat scratches.
3. Primer or Bare Metal Scratches: These are the deepest layers of scratches where the paint is completely removed and the primer layer, or the metal underneath, can be seen.
Deciding on the appropriate restoration technique is made easier by knowing the level of the scratch. Accurate scratch removal enables clear coat scratches to be buffed out, but more profound damages will need further measures taken. But if you discover a car scratch that is very deep, it is highly recommended to seek assistance from a professional auto repair shop, as they have all the necessary tools and expertise to properly repair the damage, which often involves sanding, priming, and repainting the affected area to achieve the best results.
If you find the scratch is very much deep then you should take help from best auto repair professionals.
Gather Your Materials
Check that you have the required items before you start. The following is a short list of the most important items:
- Mild Car Wash Soap and Water: To scrub the area.
- Microfiber Cloths: Used in scrubbing and gentle application.
- Scratch Removal Compound or Polish: To rub out the light scratches.
- Touch-Up Paint: If the scratch is particularly deep.
- Applicator or Soft Brush: For finer application.
- Clear Coat Sealant: To make the touched areas of the surface waterproof.
The tools listed above are necessary to complete the work within an hour.

Step 1: Clean and Prepare the Surface
Time Required: 10 Minutes
The first step involves deep cleaning the scratched area with soap and water. This washes away the dust and dirt that can pose a problem during the repair. Afterwards, rinse thoroughly and dry using a clean microfiber cloth. The surface must be devoid of any contaminant for the compound to function properly.
Step 2: Examine the Scratch Depth
Time Required: 5 Minutes
Scratches should be looked at carefully. If it’s only a shallow scratch that damages the clear coat only, then buffing out the mark using a scratch remover will do. If you can see that some portions of the scratch goes down to the base coat then you might require touch-up paint after you’re done buffing. However, in this guide, we will only examine the steps to take for clear coat scratches.
Step 3: Scratch Removal Work
Time Required: 20 Minutes
Begin using a microfiber cloth with some scratch removal compound. Buff the scratch out with circular movements, applying some modest force. The compound works by polishing the clear coat surrounding the scratch in levels that makes the scratch harder to see. Frequently check your work while buffing to measure your progress. The goal is to level out the scratch with the surrounding area.
Step 4: Clean the Surface and Check How Area Looks
Time Required: 5 Minutes
The goal is to try buffing out the scratch for another few minutes. Use slight force to enhance the area without damaging the engaging material. Once satisfactory, take a fresh cloth and use it to clean the treated regions while inspecting how it looks with adequate lighting. If there remains a faint outline of the scratch, you may engage in some more buffing, but make sure not to exert too much force as it may ruin the finish.
Step 5: Apply a Protective Clear Coat
Time Required: 10 Minutes
When you are content with the repair, you can then proceed to apply a clear coating sealant to protect the area post-treatment. This action restores shine while providing a seal against future scratches. Using a soft applicator, spread the clear coat evenly and allow it to dry as indicated on the label.
Conclusion:
By following these tips, you can effectively fix minor scratches in your car’s paint, keeping it looking its best. With a little effort and the right tools, you can easily achieve professional-looking results without breaking the bank.


